使用 Travis CI 自动构建 Hexo 博客
Travis CI 提供的持续集成服务可以在我们将 Commit push 到 Github 后自动执行用户定义的一系列任务。这里记录一下使用 Travis CI 对 Hexo 静态博客自动部署到 Github Pages 的过程。
设置 Travis CI
使用 GitHub 登录 Travis CI,会自动读取 GitHub repositories 信息。Travis CI 的原理是在虚拟机 clone 对应的 GitHub repository 并进入该目录下执行用户在配置文件中定义的一些过程。而 Travis CI 的虚拟机默认是不具备我们 GitHub Pages 对应的 repository 的写权限的,所以需要提供 Access token,这里在 GitHub 设置 里点击「Generate new token」建一个 Access token,权限只需要选择 public_repo 即可。然后将该 token 添加到 Travis CI 对应 repo 设置里的「Environment Variables」处,如下图: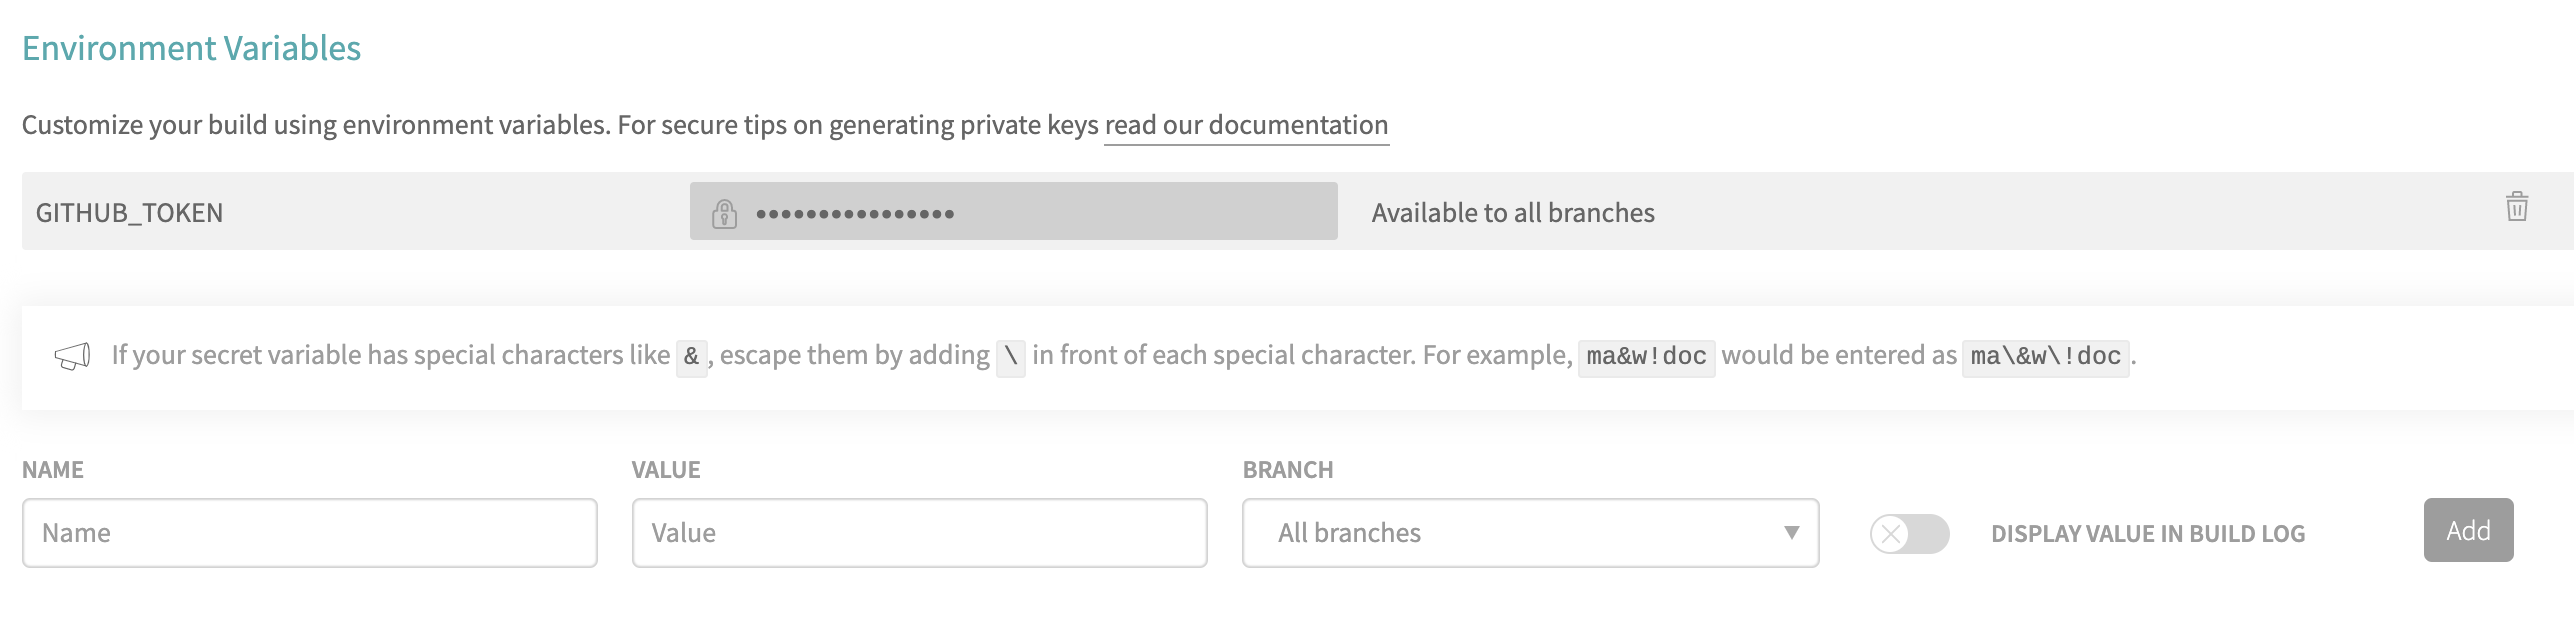
NAME 处填 GITHUB_TOKEN, VALUE 处填刚才复制的 token,点击右方「Add」就可以添加环境变量 GITHUB_TOKEN,这个在后面会用到
编辑 .travis.yml
在 Hexo 站点源文件根目录新建 .travis.yml 文件,比如我的 Hexo 站点源文件托管在 个人 GitHub Pages repo 的 hexo branch,而生成的静态博客内容在 master branch,则设置 .travis.yml 文件内容如下:
1 | # Travis CI for hexo on GitHub Pages |
Push to GitHub
编辑好 .travis.yml 文件后,push 到 GitHub,Travis CI 就会自动触发构建过程,相当于我们本地执行了 hexo g -d。后续每次只用编辑 blog 的 markdown 源文件,每次 push 到 GitHub,Travis CI 都会帮我们完成构建过程,跨设备编辑也变得更加方便,本机都可以不用安装 hexo,node.js 之类的了。
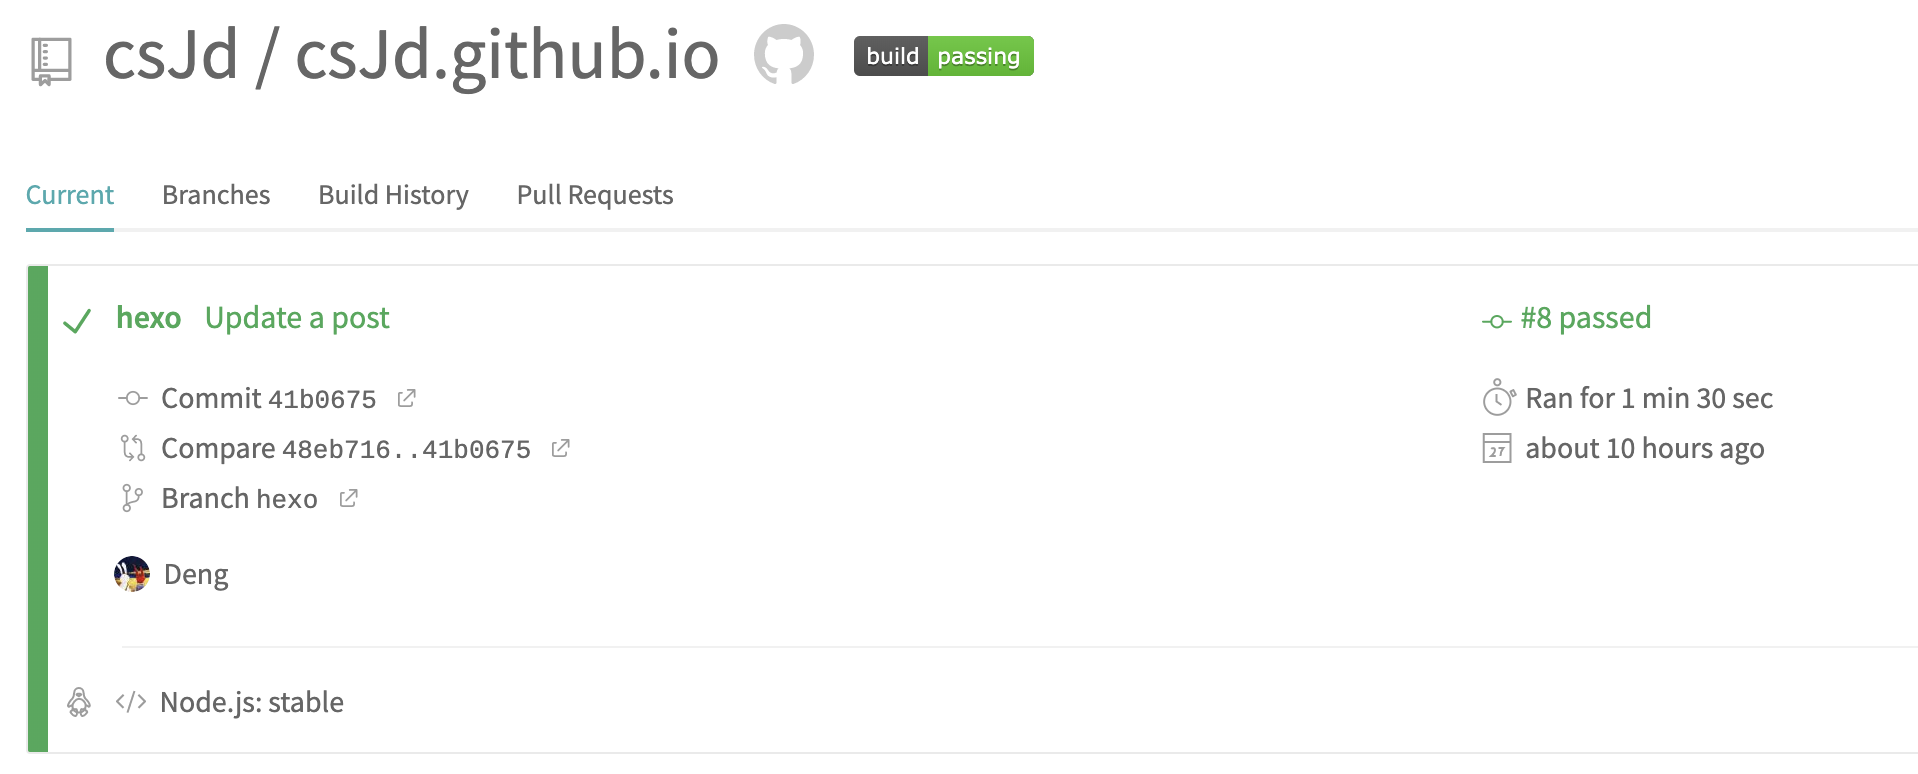
Travis CI 构建成功的 状态 如下图: